This is a four part blog series on how I wrote a webapp using Razor Pages, added an Azure SQL database, deployed to Azure App Service, and then viewed the results using PowerBI.
Part two - moving the database from our SQLite dev instance, to Azure SQL.
Using Azure SQL Database was suprisingly easy - set up the Azure SQL Database, get the connection string, then paste it into your appSettings.json file
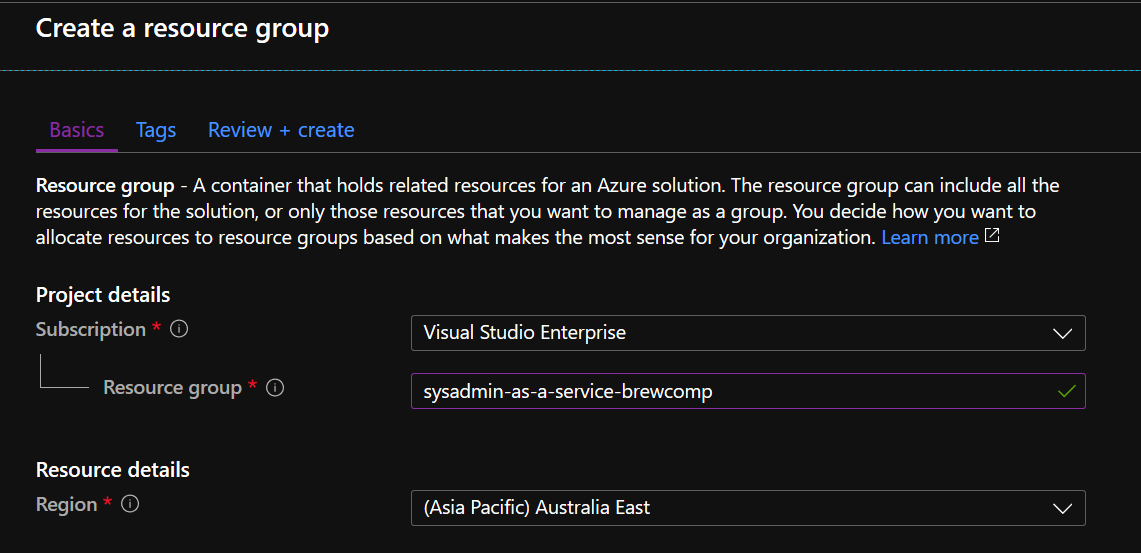
First, create your Resource Group (we didn't add any tags)
Next, create an Azure SQL database (we'll just opt for Single Database)

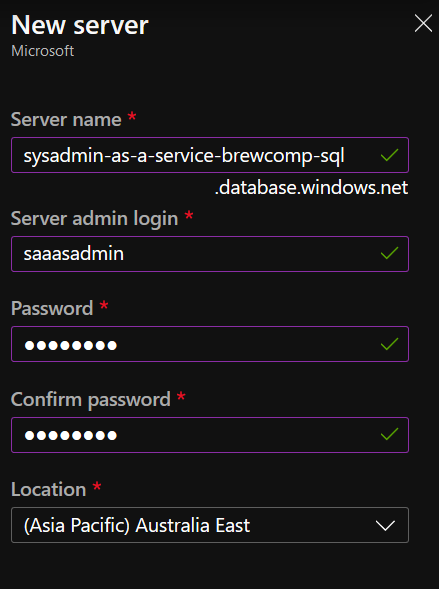
And create a new SQL server for our compute, we'll just use a basic compute profile in this instance as our DB and transaction rate will be low.
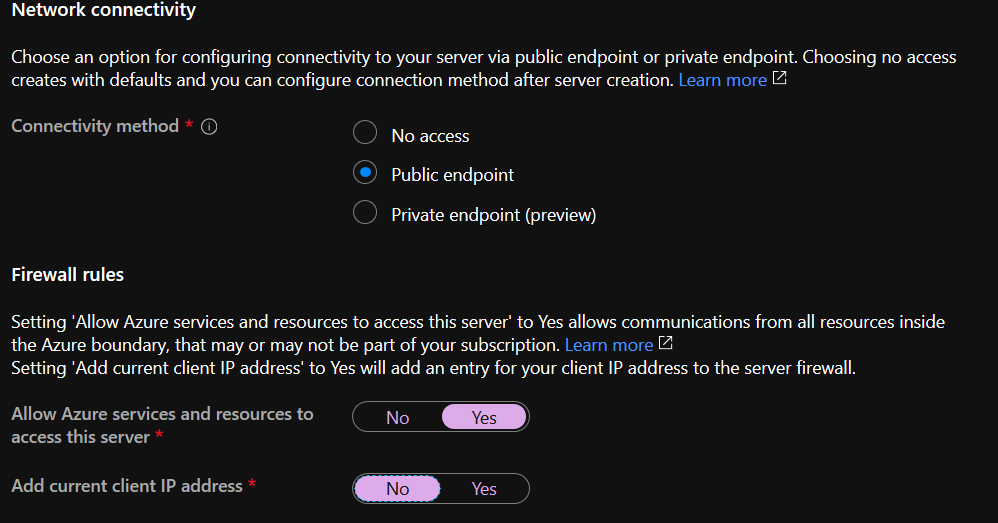
Next, under Networking, make sure you Allow Azure services and resources to access this server (this allows PowerBI to access our Azure SQL Database later)
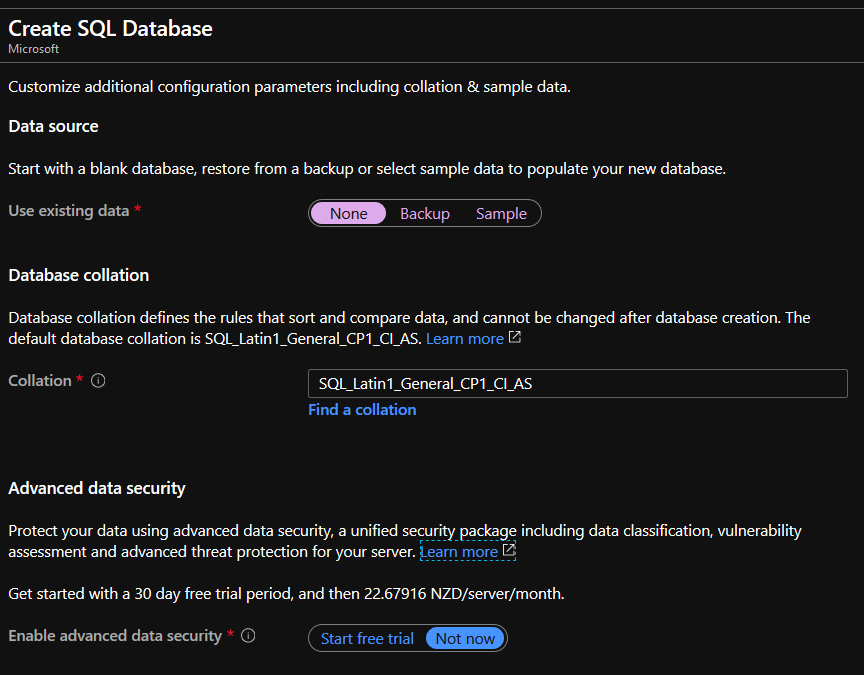
Next, select your Data Source - as we're using Code First Approach (define your data model and allow Entity Framework to create it), we can select blank database. Note: this will mean our "Production" instance of the app will have a fresh dataset.
Change the collation settings if required, and whether you want to opt into Advanced Data Security. This is a handy feature if you're potentially storing PII or other sensitive data in your database, and also enables some automated vulnerability assessments and Advanced Threat Protection features for your database.
At $22 a month it's way out of my price range, however
Click Create, then find your SQL Database in the portal and click the Show database connection strings link, then copy the ADO.NET connection string


Right! Now we have created our Azure SQL database, we can change our our ConnectionStrings in our appSettings.json file from pointing to our SQLite development database (if you followed along with the Razor Pages tutorial), to our Azure SQL Database connection string:

Now we're ready for Part Three - deploying to Azure App Service.